
Pi - The Personal Assistant (Raspberry Pi + IBM® Watson) - Part 2
This tutorial is the second in series on developing a Personal Assistant (Pi) using Raspberry Pi and IBM® Watson. Pi will take a picture of an object placed in front of it, classify the picture, provide classification with a score and play the results back to the user.
Note: All tutorials in this series are independent of each other, they simply use the same concepts.
Learning Objectives
At the end of this tutorial you will be able to:
- Play audio on Raspberry Pi using Java
- Take pictures from Raspberry Pi Camera using Java
- Invoke Watson's Visual Recognition service from Java
- Invoke Watson's Text to Speech service from Java
Hardware
Raspberry Pi 3 (RPi3) Model B, Raspberry Pi Camera, Speaker (optional)
Software
Java 8, IBM® Bluemix, JRPiCam Library
Design
This section provides a high-level design of how Pi - The Personal Assistant will recognize objects. When you run the code from a terminal a new interaction is started and following activities happen.
- Pi greets the user
- Pi waits for 3 seconds
- Pi takes a picture of object placed in front of the camera
- Pi invokes Watson Visual Recognition service, passes the PNG file as input
- IF Watson is able to classify the image THEN
-
- Pi creates a response based on results
- Pi invokes Watson Text to Speech service
- Pi plays the response back to user
- ELSE Pi says "Sorry, I could not recognize the object"

IBM® Watson Setup
Step 1: Signup for Bluemix.
Step 2: Login to Bluemix, you will be redirected to the Console.

Step 3: Click on Watson.
Step 4: Click on Get started now! + to create a new service.

Step 5: From all Watson services, click on Visual Recognition service.

Step 6: Enter Service name and Credentials name (or leave as-is). You can leave the service unbound and select a Pricing Plan that suits you. Click on Create.

Step 7: Your Visual Recognition service is ready for use.

Step 8: Go back to Catalog > Watson and click on + to create Text to Speech service.
Step 9: From all Watson services, click on Text to Speech service.

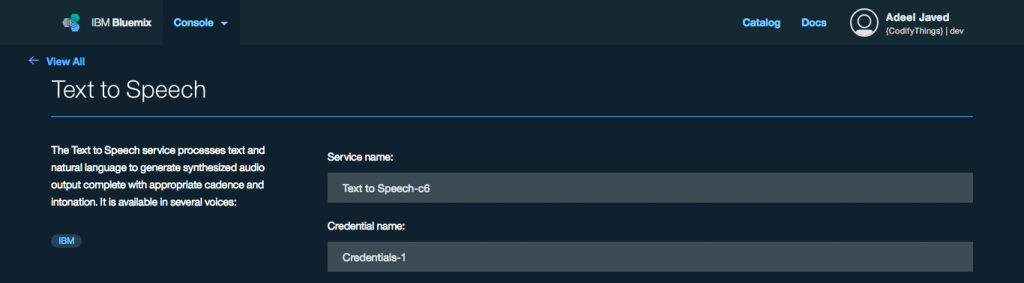
Step 10: Enter Service name and Credentials name (or leave as-is). You can leave the service unbound and select a Pricing Plan that suits you. Click on Create.

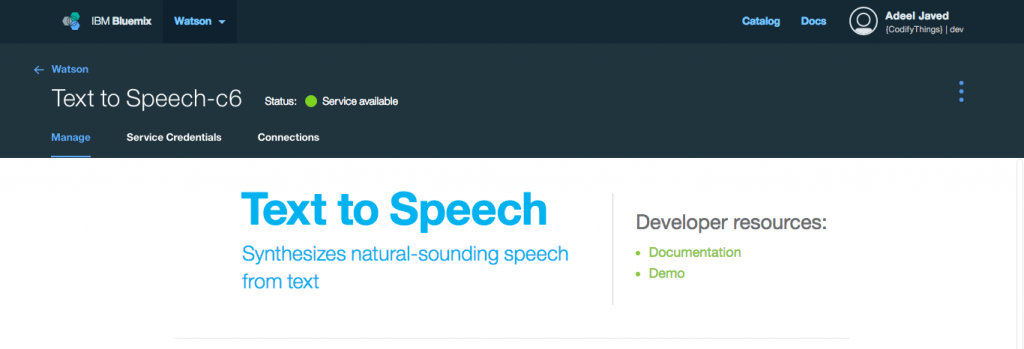
Step 11: Your Text to Speech service is ready for use.

Raspberry Pi Setup
Step 1: Download the code from Github repository.
Step 2: Latest versions of Raspberry Pi comes pre-installed with Java, so you only need to download required dependencies.
- Watson API - Java SDK
- JRPiCam (Java API for Raspberry Pi Camera)
Step 3: Open the Constants.java file in com.codifythings.personalassistant package and copy-paste credentials from Watson services that you created.
Step 4: Run the main class com.codifythings.personalassistant.PersonalAssistant.
Final Product
Next Steps
This wraps up the tutorial. There are quite a few enhancements that you can make to this module e.g. build a robot that finds specific objects or a security camera that only records when there is a person in the vicinity.
Citations
Pi - The Personal Assistant (Raspberry Pi + IBM® Watson) - Part 1
This tutorial is the first in series on developing a Personal Assistant (Pi) using Raspberry Pi and IBM® Watson. Pi will listen to your commands, analyze the command to see if you are asking about the weather or not if you are then it will search for weather data and playback the response.
Learning Objectives
At the end of this tutorial you will be able to:
- Record and play audio on Raspberry Pi using Java
- Invoke Watson's Speech to Text service from Java
- Invoke Watson's Text to Speech service from Java
- Invoke Watson's Natural Language Classifier service from Java
- Fetch weather data from Forecast.io
Hardware
Raspberry Pi 3 (RPi3) Model B, Speaker, USB Mic
Software
Java 8, IBM® Bluemix, Forecast.io
Design
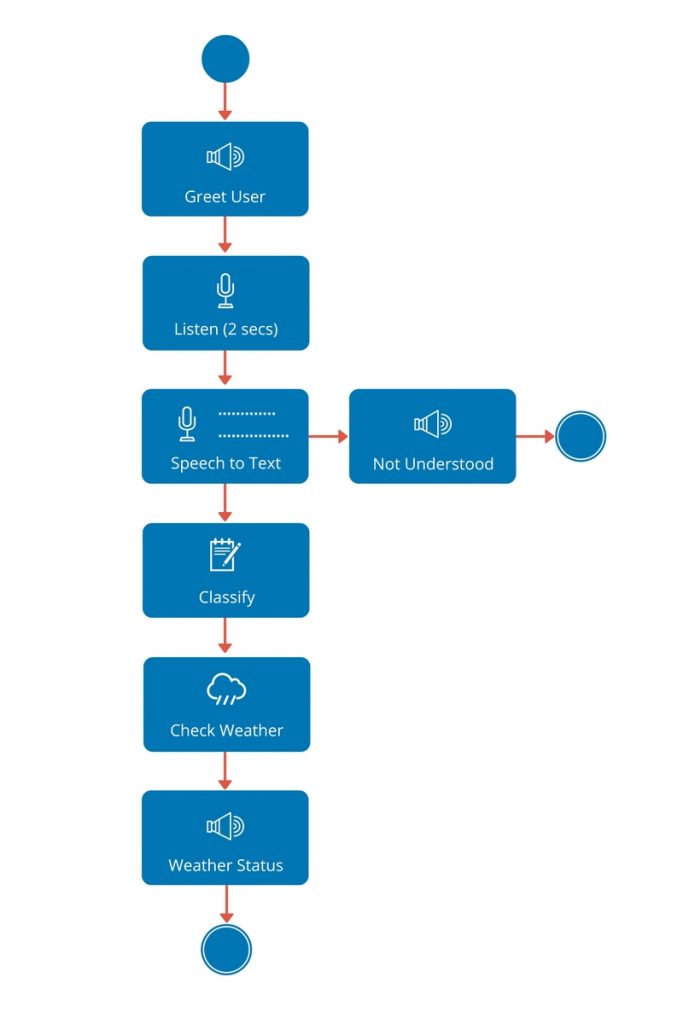
This section provides a high-level design of Pi - The Personal Assistant. When you run the code from a terminal a new interaction is started and following activities happen based on user command.
- Pi greets the user
- Pi listens to user command for 2 seconds
- Pi creates a WAV file of user command
- Pi invokes Watson Speech to Text service, passes the WAV file as input, the service converts it into text
- IF user did not say anything THEN
- Pi says "Sorry, I did not understand that", and ends the interaction
- Pi passes the converted text to Watson Natural Language Classifier service. This service gives you the ability to train Watson. Once trained, Watson can analyze natural language text and provide a confidence level that tells you how relevant the text is to your trained data. So, instead of hard-coding a few conditions that just check if a specific word is present or not, Watson learns and then provides a confidence level.
- IF classification confidence level is less than 50% THEN
- Pi says "Sorry, I did not understand that", and ends the interaction
- Pi looks up weather data from Forecast.io (for now latitude/longitude for Chicago is hard coded)
- Pi creates a response, generates a WAV file, plays it back to the user and ends the interaction
IBM® Watson Setup
Step 1: Signup for Bluemix.
Step 2: Login to Bluemix, you will be redirected to the Console.

Step 3: Click on Watson.
Step 4: Click on Get started now! + to create a new service.

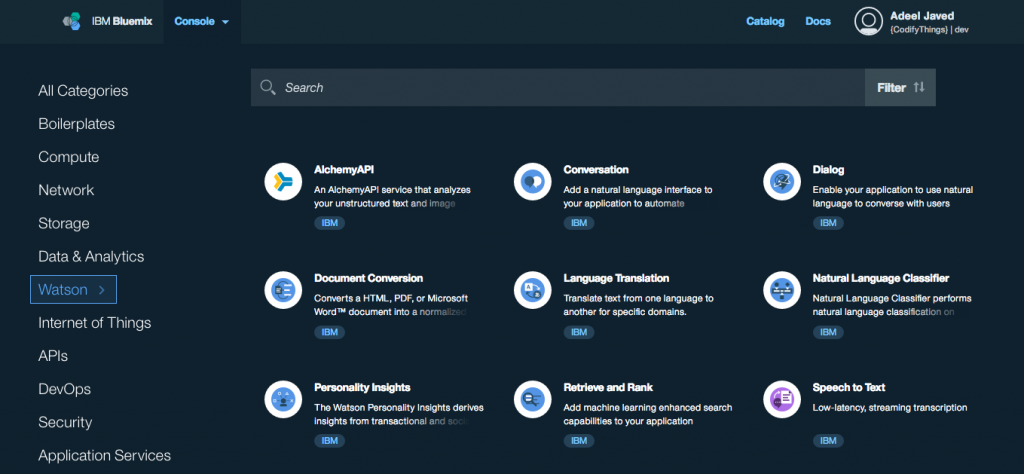
Step 5: From all Watson services, click on Speech to Text service.
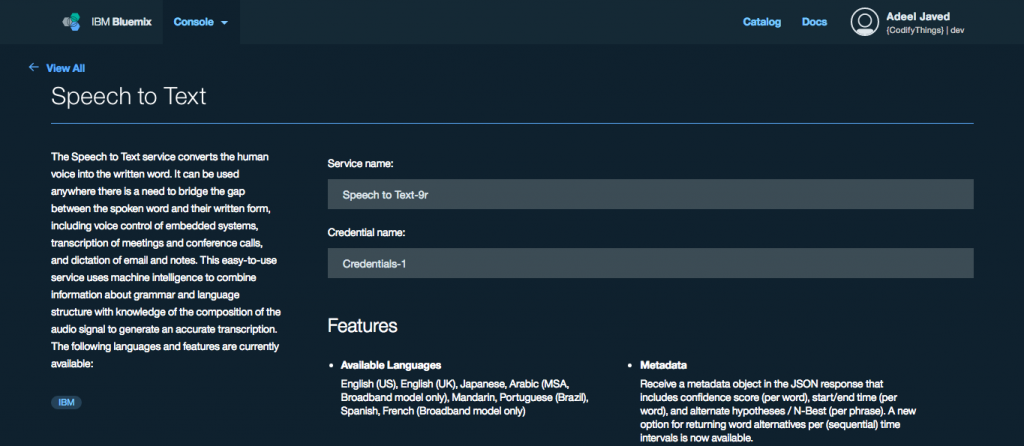
Step 6: Enter Service name and Credentials name (or leave as-is). You can leave the service unbound and select a Pricing Plan that suits you. Click on Create.
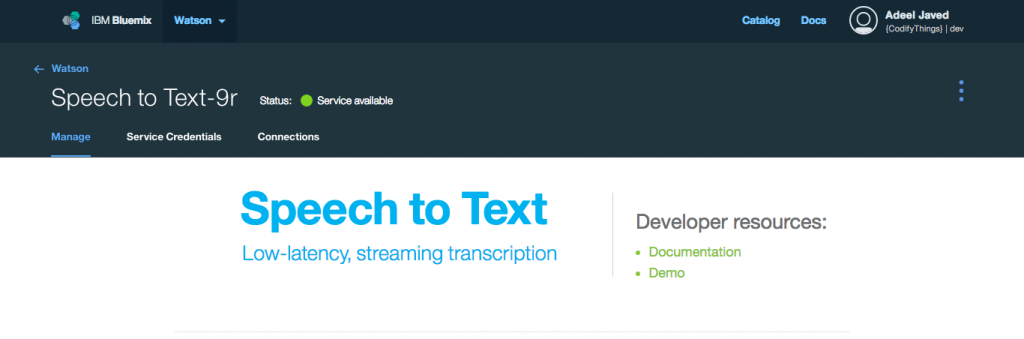
Step 7: Your Speech to Text service is ready for use.
Step 8: Go back to Catalog > Watson and click on + to create Text to Speech service.
Step 9: From all Watson services, click on Text to Speech service.

Step 10: Enter Service name and Credentials name (or leave as-is). You can leave the service unbound and select a Pricing Plan that suits you. Click on Create.
Step 11: Your Text to Speech service is ready for use.
Step 12: Go back to Catalog > Watson and click on + to create Natural Language Classifier service.
Step 13: From all Watson services, click on Natural Language Classifier service.

Step 14: Enter Service name and Credentials name (or leave as-is). You can leave the service unbound and select a Pricing Plan that suits you. Click on Create.
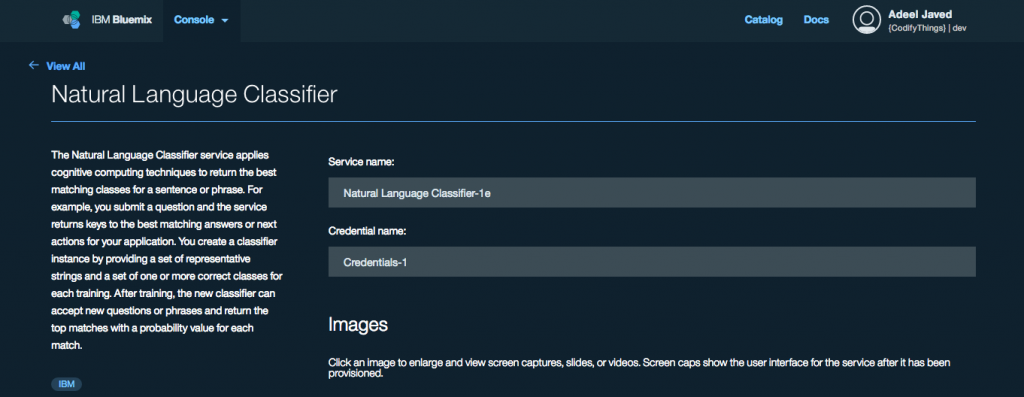
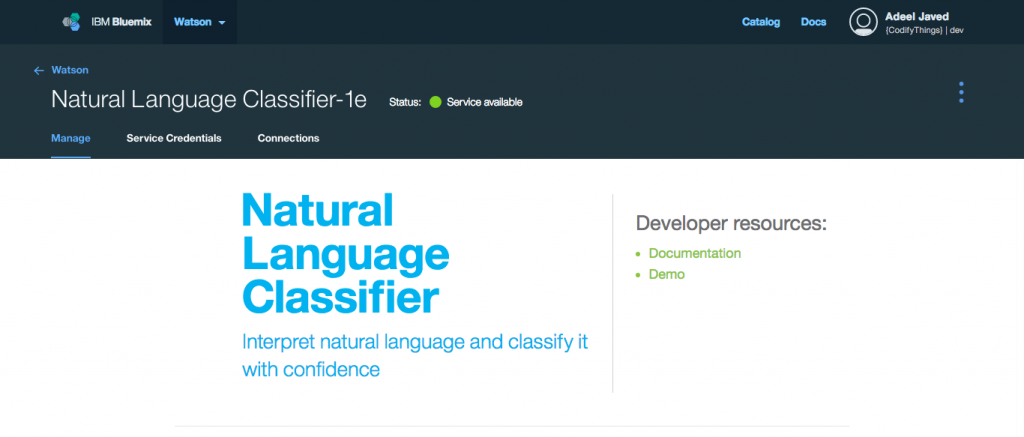
Step 15: Your Natural Language Classifier service is ready for use.
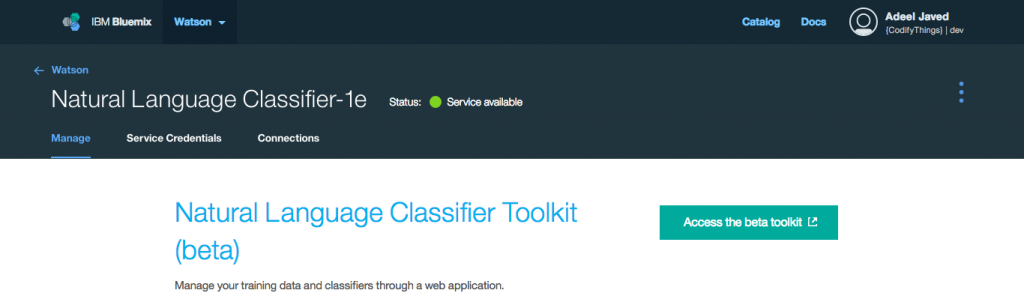
Step 16: All required IBM® Watson services are now ready, but before you can use the Natural Language Classifier service you need to train IBM® Watson to properly classify text i.e. Speech to Text service will convert everything that the user says into text, so how do you find if it is relevant or not. Open your newly created Natural Language Classifier service and click on Manage tab. From Manage tab click on Access the beta toolkit button. This will open the toolkit (you might be required to sign in again and authorize access to your user).
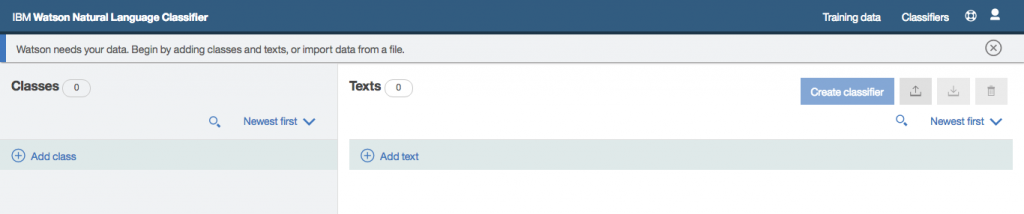
Step 17: Under Classifiers click on Add training data button.

Step 18: Next click on Upload training data button from the top right menu.
Step 19: Select the CSV file that contains your training data (this application uses a slightly modified version of the file provided by IBM, you can download it from here).
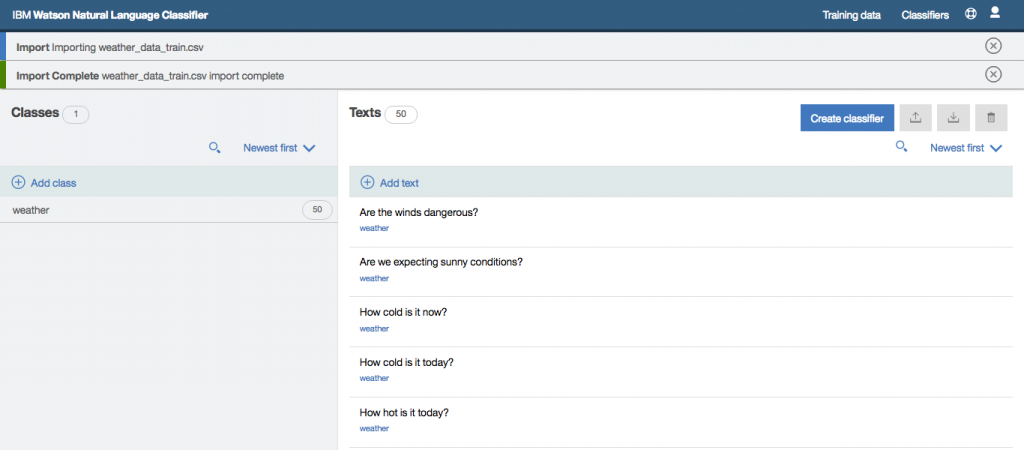
Step 20: Once all training data has been imported click on Create classifier button.
Step 21: Enter a Name for your classifier and click on Create button.
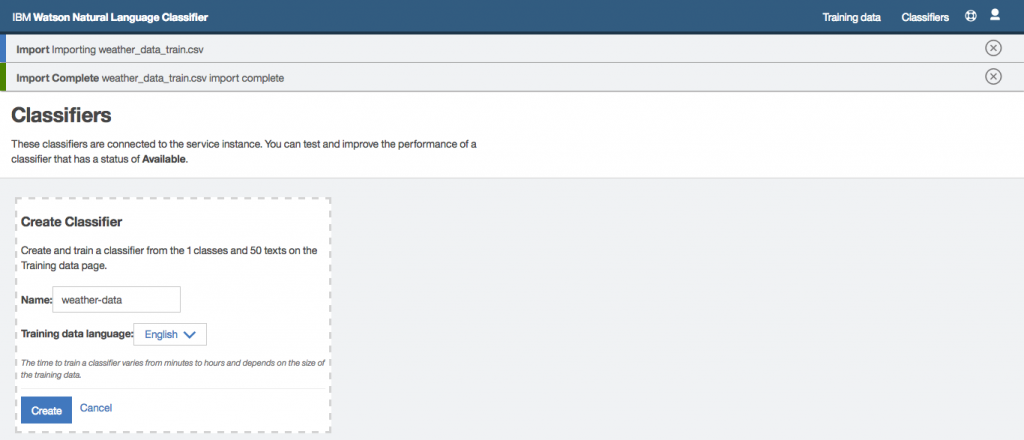
Step 22: You will start seeing messages that training is in progress (this process might take a few minutes).

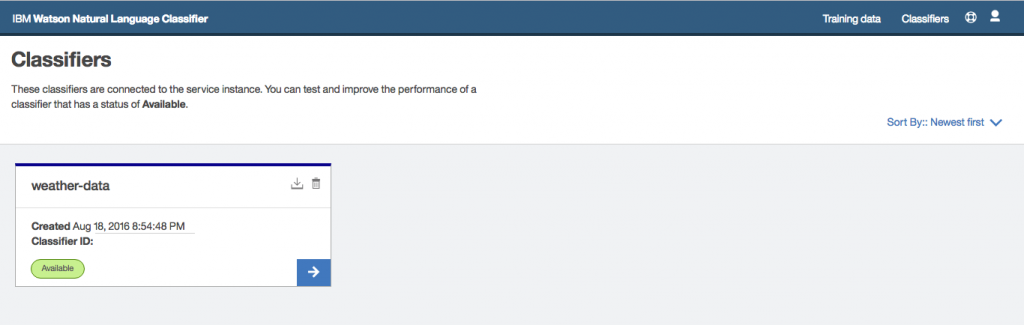
Step 23: Once training is complete you will see the following message, that means your Natural Language Classifier service is trained and ready to be used.
Raspberry Pi Setup
Step 1: Download the code from Github repository.
Step 2: Latest versions of Raspberry Pi comes pre-installed with Java, so you only need to download required dependencies.
Step 3: Open the Constants.java file in com.codifythings.personalassistant package and copy-paste credentials from Watson services that you created. You also need to change the classifier id that you saw in the final step of the last section.
Step 4: Run the main class com.codifythings.personalassistant.PersonalAssistant.
Final Product
Next Steps
This wraps up the tutorial. You can easily add more functionality e.g. traffic information - how long will it take me to get to the office. You simply need to train Watson for additional classifications and based on the classification perform a search.
Another future enhancement could be how this interaction gets triggered. For now, the code was manually run from the command line, but you could improve that by using a switch, a motion sensor or even facial recognition.